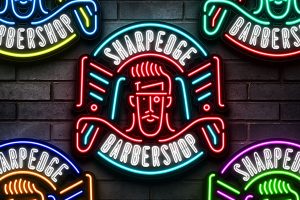
Turn your logo or text from a single black color into a Masterpiece with just one click.
Text Effects
-
Page 3 of 27
What is text effects?
Typography is one of the most important elements in designing. Text effects or layer styles are usually applied to logos or titles of small or big designs so that the titles will look more interesting and eye-catching. Films and series posters are good examples of where text effects are used.
One of the popular styles that became a trend was the style that was used in the logo of the Stranger Things series. This is a simple yet elegant style that has created an elegant look for the series logo.
There are more than 200 Text Effects available on the Hyperpix website. They are all designed with high quality. Some of these text effects are for free and the others are Premium. Browse this page and check out these text effects. Using these effects is so easy that you will be amazed!
These effects will not only work on texts. You can apply them to logos, shapes, and vectors as well.
What are the different types of text effects?
There are different types of Text Effects available depending on the usage and designing style. We have classified Text Effects into the different groups in Hyperpix:
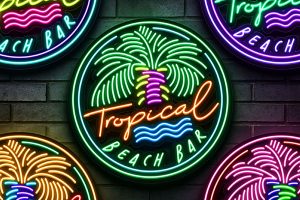
- 80s Text Effects
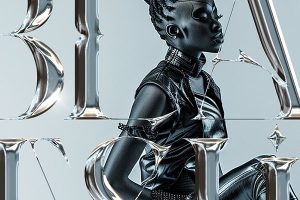
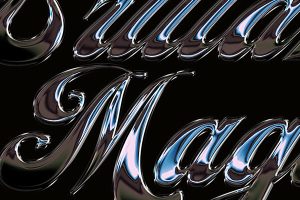
- Chrome Text Effects
- Casino Text Effects
- Movie Text Effects
- Gold Text Effects
- Game Text Effects
What are text effects usually used for?
Text Effects are widely used in designing. For example, you can use Text Styles in designing logos, posters, flyers, T-shirts, Advertisement banners, social media banners, music covers, and more.
If the designer wants to design these effects it will take a lot of time. The ready-to-use text effects can reduce the designing time and in less than a minute the designer will get amazing results.
How are text styles created?
The set of different settings of blending options in Photoshop is called Layer Styles. These Layer Styles can help with creating different layers and can be applied on different layers such as texts, shapes, Smart Objects, or Rasterize Layers.
Some styles are very complicated compared to others. Almost all the available Text Effects on the Hyperpix website are of complicated ones. Thousands of different layers will be put on each other and create a Text Effect. The style of each layer will affect the lower layer and in general, it will create a very professional and realistic looking look.
Those Text Effects that are created from multiple layers cannot be exported in ASL due to different blending options in different layers. These effects can be used in a PSD file in the form of Smart Objects.
How text effects are usually used?
Text Effects can be used in two different ways. If the style that you are going to is an ASL, you only need to double click on it and import it to Photoshop. Then use File > New > Create a new document. Use the Toolbar on the left side of the Photoshop and select Type Tool. Click on your document. A text layer will be created. Type your text and click on the Tick option from the above bar in Photoshop.
Go to Windows Menu and click on Styles. The Styles panel will appear. At the end of the list, you will see all the different styles that you have imported in Photoshop. By clicking on each one of them, it will be applied to your text layer in no time!
Using more professional text styles is a bit different. These text styles are a PSD file. To use them you just need to open the file in Photoshop. If you are using our text effects, you should know that in the layers panel, there is a layer called “YOUR DESIGN HERE” highlighted with yellow color.
Right-click on this layer and select “Edit Contents”. A new window will be opened. Type your text. Instead of text, you can also use your logo. All you need to do is to import your logo in this document and erase the text layers. Then go to the “File” menu and click on the “Save” button.
For the style to be applied a few minutes is needed. After a Process bar appears you need to go back to the previous window and you will see that your effect is simply applied. In case you like to make some changes to the color, light, or contrast, you need to select the Adjustment folder from the Layer Panel and make some changes as you wish.
If you like to use these Text Effects in your different designs, you should drag the “3D EFFECTS” folder from the Layer Panel to a new document or design. It is very easy!
© 2012 - 2024 Hyperpix Productions. All rights reserved.







![Barbie Chrome Logo / Text Effect [PSD]](https://hyperpix.net/wp-content/uploads/2023/09/Barbie-Chrome-Logo-Text-Effect-PSD-Template-Thumbnail-300x200.jpg)

